Tuesday, November 26, 2013

Weekly Recipe #142: Pumpkin Pie

by Gwenda Hill, Open Arms Registered Dietitian

Ever since my husband and I started dating, I’ve celebrated Thanksgiving with his family. They prepare an amazing spread- turkey, corn bread stuffing, Italian sausage stuffing (my husband’s 100% Italian great-grandma’s recipe), bread stuffing, cranberries, sweet potatoes, mashed potatoes, Brussels sprouts, rolls, condiments and pecan pie. Amazing, right? Almost. The first time I experienced their Thanksgiving, I left with only one unfulfilled food desire—pumpkin pie!

Pumpkin pie was always a staple of my family’s Thanksgiving dinner. Determined not to miss out on the delightful flavor the following year, I volunteered to bring it. Every year since, I have only needed to make this one contribution. This year, I am making it from scratch—with a pie pumpkin picked from the field of a local farm.

I definitely encourage you to try making the pumpkin pie this way. You will need a food processor or immersion blender to do this successfully. Of course, it’s less daunting if you don’t also have to prepare the rest of the Thanksgiving feast! Most of the guidance for the creation of this pie comes from my go-to cookbook, “The Joy of Cooking.”

Wishing you and yours a wonderful Thanksgiving celebration!

Pumpkin Pie

(Yields 1-9 in. uncovered pie)
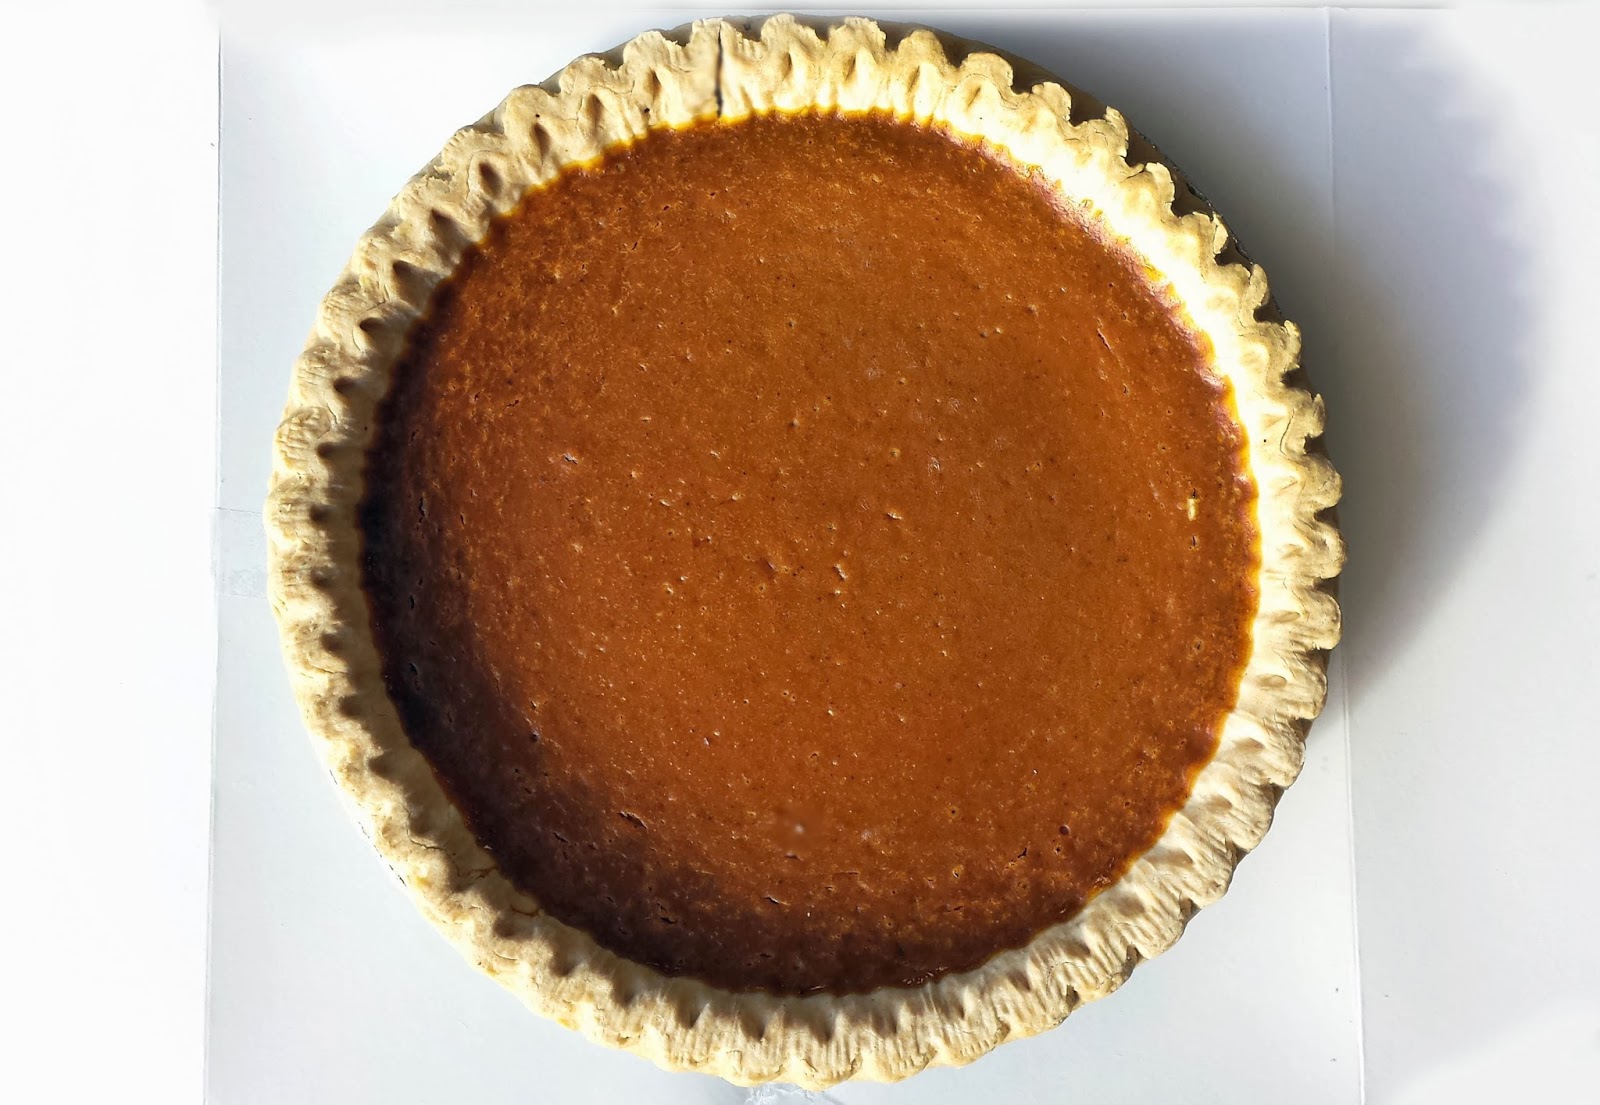
Photo by Noel Clark
For the crust

Ingredients:
  • 1 1/4 cup all-purpose flour
  • 1/2 tsp. white sugar
  • 1/2 cup cold unsalted butter (1 stick)
  • 3-5 tbsp. cold water

Instructions:
  1. Combine the flour and sugar together.
  2. Cut the cold butter into small pieces and add to the flour mixture.
  3. Use a pastry blender or fork to cut the butter into the flour mixture. Do this until the mixture has the consistency of coarse crumbs. The mixture should be dry and powdery.
  4. Drizzle 3 tbsp. of water over the mixture and lightly mix until evenly moistened. If the balls of dough do not stick together, add 1 tbsp. of water at a time until they do.
  5. Once the dough just barely sticks together, wrap tightly in plastic. Put in the refrigerator for at least 30 minutes. You can store the dough wrapped in the fridge for up to 2 days. It is easier to roll when it is cold.
  6. When you are ready to bake the pie, roll out the dough. To make rolling easier, put it between two sheets of parchment paper or waxed paper. Roll out to desired size.
  7. Peel off the paper and put the dough in a pie pan. Trim off the excess dough.

For the Pumpkin Puree

(Yield: A kids soccer ball sized pumpkin will yield about 5 cups of pumpkin puree)

Ingredients:
  • 1 pie pumpkin (not to be confused with the bigger Jack-o-Lantern variety)
Instructions:
  1. Preheat the oven to 400 degrees.
  2. Wash the outside of the pumpkin well. This keeps any germs that are on the outside skin from spreading to the protected fleshy part of the pumpkin.
  3. Cut the pumpkin into quarters.
  4. Scrape out the seeds and stringy pumpkin insides (save the seeds to roast them).
  5. Place the pumpkin flesh-side down in a pan. A pan with a bit of an edge will contain the juices that may leak while roasting.
  6. Bake for about 40 minutes. Check halfway through cooking. Turn over to make sure it cooks evenly.
  7. Remove from oven and allow to cool for about 15 minutes.
  8. Once the pieces are cool enough to handle, peel the skin off of the flesh and discard. Put all of the flesh into a bowl.
  9. Use an emersion blender to puree the pumpkin to an applesauce consistency.
  10. Remove 2 cups of puree to use in the pie. You can portion out and freeze the rest to use in another pie or a different recipe (like soup or bread) at another time.

For the filling

Ingredients:
  • 2 large eggs
  • 2 cups pumpkin puree (see above recipe)
  • 1 1/2 cups evaporated milk
  • 1/2 cup sugar
  • 1/4 cup brown sugar
  • 1 tsp. ground cinnamon
  • 1/2  tsp. ground ginger
  • 1/4 tsp. allspice
  • 1/4 tsp. crushed cloves
  • 1/2 tsp. salt

Instructions:
  1. Preheat oven to 375 degrees.
  2. Whisk the eggs in a bowl.
  3. Whisk in remaining ingredients until well blended.
  4. Pour the pumpkin mixture into the unbaked pie crust.
  5. Bake for 35-45 minutes. It should resemble a gelatin consistency when done. (My mom taught me to test for doneness by sticking a knife in the center of the pie - if it comes out clean it’s done. This leaves a knife mark in the center of the pie, which might be undesirable for some. But honestly, I don’t know pumpkin pie any other way, so the slit in the top is just a part of the presentation of my pie.)
  6. Serve warm, room temp, or cold. Top with whipped cream or ice cream with a dash of cinnamon to dress it up.


Tiny Tuesday Recipe - Roasted Pumpkin Seeds


We know many of you are busy thinking about what to cook, bake or make for Thanksgiving, so here's a Tuesday recipe teaser from our very own Gwen Hill. Sign up for our newsletter - The Weekly Dish - to get a new recipe every week.

Roasted Pumpkin Seeds

by Gwenda Hill, Open Arms Registered Dietitian

Photo by Brian Jackson via Flickr

There’s more to a pumpkin than just pie. Roasted seeds are a yummy bonus from the hard work of digging out the pumpkin guts.

Ingredients:
  • Pumpkin Seeds 
  • Olive oil 
  • Salt

Instructions:

  1. Preheat oven to 400. 
  2. Pull all pumpkin seeds out of the pumpkin.
  3. Put into a strainer and clean under running water. 
  4. Pour into a bowl. 
  5. Add just enough oil to coat. Sprinkle with salt. 
  6. Spread evenly on a cookie sheet. 
  7. Bake for about 7-10 minutes, depending on the amount of seeds. Stir half way through cooking. Watch closely- they go from deliciously roasted brown to a dark brown burn in a matter of minutes. 
  8. Remove from oven and allow to cool. Add additional salt to taste, if needed. 
  9. Enjoy!

Tuesday, November 19, 2013

Weekly Recipe #141: Cornbread Stuffing with Dried Cranberry Stuffing

Recipe from Asei Tendle, Food Services Director at Open Arms 

You may have seen our very own Asei Tendle on your home television or fancy mobile device recently. This week we're proud to share his great recipe for a classic holiday side dish, as seen on FOX 9!

Asei says it feels good to be able to use his skills as a chef to provide meals to folks who really need it.  During the holiday season, this hits particularly close to home. Folks with life-threatening illnesses need a dose of kindness, generosity, and the creature comforts that a traditional holiday meal can provide.

This is where you come in. Your gift of $50 puts food on their tables and warmth in their hearts. Just listen to what a few of our clients - our friends - had to say about the wonderful meals you made possible last year.

“I just wanted to thank you again for helping me.  After we got off the phone I cried and cried - I had not realized how stressed I was about feeding myself and how scared at how sick I was getting.  
By feeding my family you have also allowed me to forgive myself for what I had deemed a bad mother or wife who is too sick to cook for herself let alone her family. 
You have brought some normalcy back into our lives and for that I am truly grateful.  One day I will pass this on - your gift to me and my family will not be forgotten.” ~Client Wendy

A Turkey Meal Sponsorship doesn’t just provide a holiday meal for those who might have otherwise gone without, it puts a smile on another person’s face. As Client Joe put it, “This is such a treat! This is like Christmas in November!”

Head on over to our Turkey Drive page to donate, then let Asei walk you through his family recipe below!

Cornbread Stuffing with Dried Cranberry Stuffing


Ingredients
  • 6 cups Cornbread crumbled
  • 7 slices dried white bread
  • 8 tablespoons butter
  • 2 cups celery, chopped
  • 1 large onion, chopped
  • 7 cups chicken stock
  • 1 teaspoon salt
  • 1/2 teaspoon ground black pepper
  • 1/4 cup sage chopped
  • 1/2 cup parsley chopped
  • 1 cup dry cranberry

Directions

1. Preheat oven to 350 degrees F.

2. In a large bowl, combine crumbled cornbread, dried white bread slices; set aside.

3. Melt the butter in a large skillet over medium heat. Add the celery and onion and cook until transparent, approximately 5 to 10 minutes.

4. Pour the vegetable mixture over cornbread mixture. Add the stock, mix well, taste, and add salt, pepper to taste, sage, and parsley. Serve with turkey as a side dish.


Tuesday, November 12, 2013

Weekly Recipe #140: Roasted Cauliflower


By Nicole Beyer, University of Minnesota Medical Center, Fairview Dietetic Intern on rotation with Open Arms

Growing up, my parents never had to tell me to eat my vegetables; vegetables were, and still are, some of my favorite foods. My all-time favorite vegetable is cauliflower. I love the crunch and the distinct flavor that it has when it’s served raw, but I especially love it when it’s roasted. In the fall and winter months it’s great to have a warm vegetable to add to your meal. Below is a quick and easy recipe that works well as a side dish for any meal. This recipe combines the distinct flavor of cauliflower with a pop of heat from red pepper flakes. The added cheese gives it an exceptionally rich flavor.

Cauliflower provides ample amounts of many nutrients, including vitamin C, vitamin K, folate, vitamin B6, and potassium. The anti-inflammatory effects of some of the nutrients found in cauliflower are great for heart health and can help lower your risk of cancer. Cauliflower is also high in fiber, which is great for digestive health and helps keep you full.


Roasted CauliflowerAdapted from: www.simplyrecipes.com
(Serves: 4)


Ingredients:1 head of Cauliflower – cut into florets
Lemon Juice from half a lemon
1 tbsp. Olive Oil
Salt and Black Pepper to taste
2 tsp. Red Pepper Flakes
¼ cup Parmesan Cheese – grated

Instructions:1. Preheat the oven to 400ºF.
2. In a large bowl, combine the cauliflower, lemon juice, olive oil, salt, pepper, and red pepper flakes.
3. Cover a baking sheet with aluminum foil.
4. Spread the cauliflower evenly on the baking sheet.
5. Bake for 20-30 minutes, tossing occasionally, until the cauliflower is golden brown.
6. Remove from the oven and sprinkle with parmesan cheese.

Tuesday, November 5, 2013

Weekly Recipe #139: Lawry's Pasties

By Andy Lakanen
Open Arms Dietetic Intern, University of Minnesota & The Emily Program


Pasties (“pass-teez”) are a historic trademark of the Upper Peninsula. Coming from southern England, pasties were traditionally eaten by miners working in the Iron Range. Given their compact shape and nutritional density, they were the miner’s meal-to-go. Pasties are still a family favorite in the Upper Peninsula today. My grandmother has a pasty recipe she’ll probably take with her to her grave. She has been making delicious, football-sized pasties for as long as I can remember, and is fond of telling me that her son (and my uncle) used to be able to eat two of those monstrous, 12-16oz pasties in one sitting. Incredible!

Pasties are nutritionally dense, and contain plenty of meat and potatoes, two Midwestern staples. Indeed, pasties can satiate even the largest appetites. Additionally, they contain carrots, onions, and rutabaga, all of which contain several essential nutrients, including vitamin C, an important antioxidant. One rutabaga can contain over one and a half times your daily value of vitamin C, and is also a good source of vitamin B-6, important in energy metabolism. And carrots are a valuable source of beta carotene – which is converted to vitamin A in your body, helping to maintain normal vision.

Lawry’s Pasties
(adopted from NPR.com)
Recipe makes four pasties


Ingredients:
Crust
2 cups flour
2/3 cup shortening (Optional: use 2/3 cup lard)
1/2 cup water
Dash salt

Note: a frozen pastry crust, usually sold in square-shaped pieces, can also be used if you do not want to make your own pasty crust. Be sure to thaw these crusts before baking your pasties.

Filling
3/4 lbs. ground chuck or cubed steak
3 cups potatoes, diced
1/3 cup carrots, diced
1/3 cup onion, diced
1/3 cup rutabaga, diced (optional)
2 tbsp. dried parsley
Salt and pepper to taste

Instructions:
1. Preheat oven to 400 degrees.

2. Cut shortening into flour and salt, add water, and knead until well blended. Form into four balls and chill. Coat with plenty of flour and roll into circles.

3. Mix all non-crust ingredients in a large bowl. Divide into four equal portions and place in center of each crust. Fold over and seal edges. You can seal the edges with a fork (like a ravioli) or simply fold over the edges with your fingers. Bake at 400 degrees for 50 to 60 minutes.

Note: if you bought a frozen pastry crust, you may want to “paint” an egg mixture (raw eggs) over the top of the pasties before baking with a brush. This will enhance the appearance and taste of the crust as it facilitates browning.